Instant GNU Radio
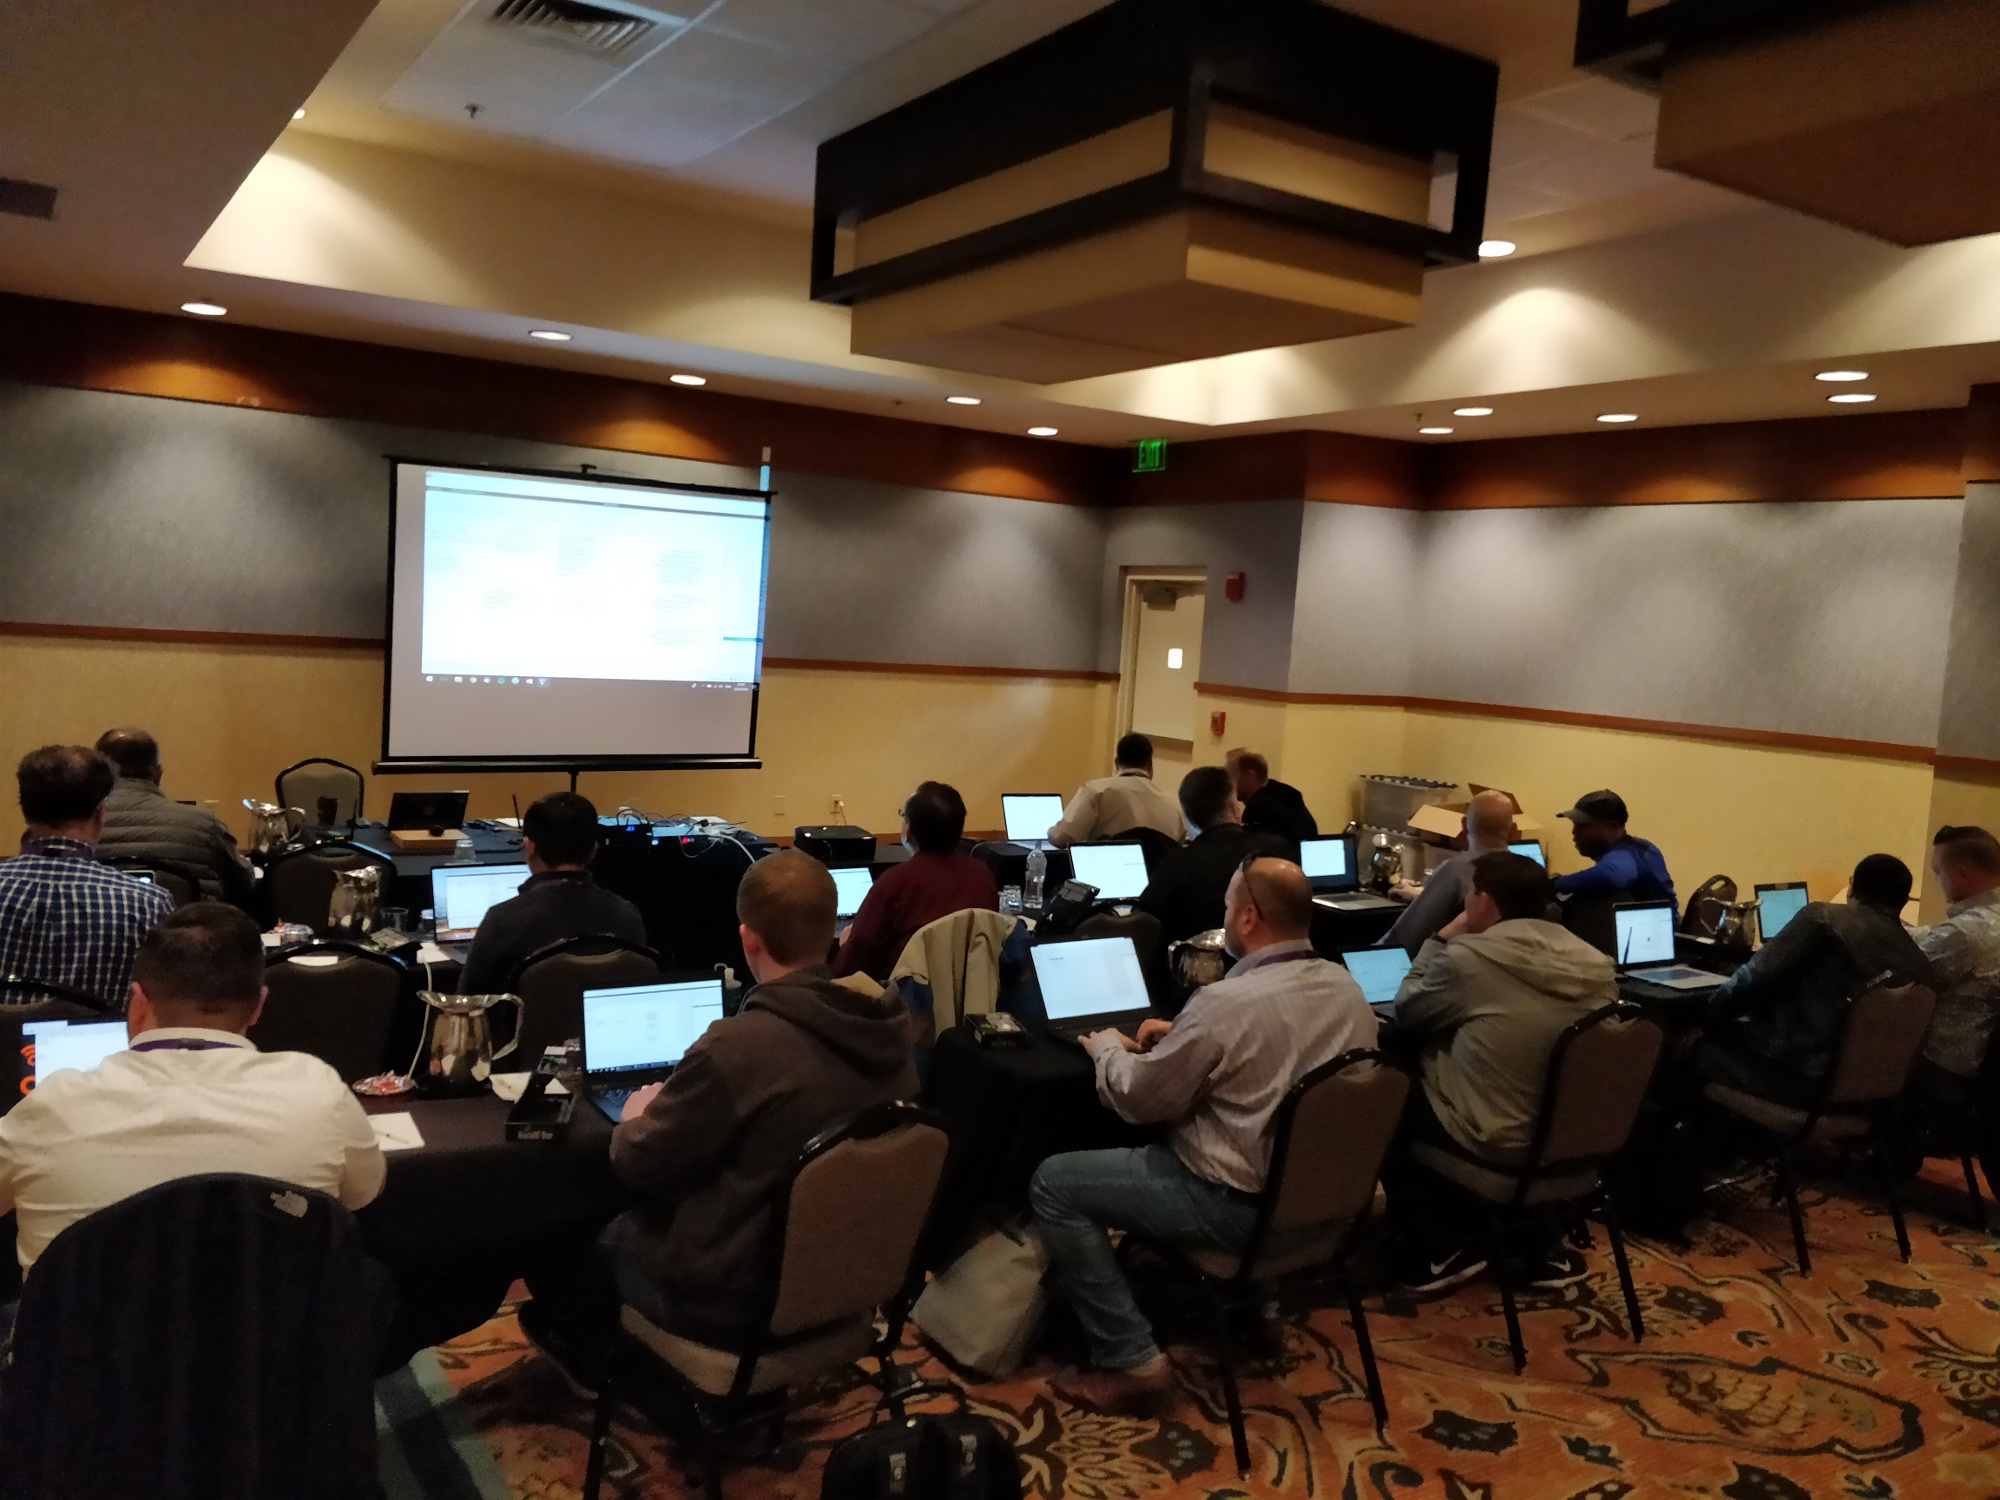
While preparing a bring-your-own-device hands-on SDR session, I thought a bit about the different options to provide students with a live environment.
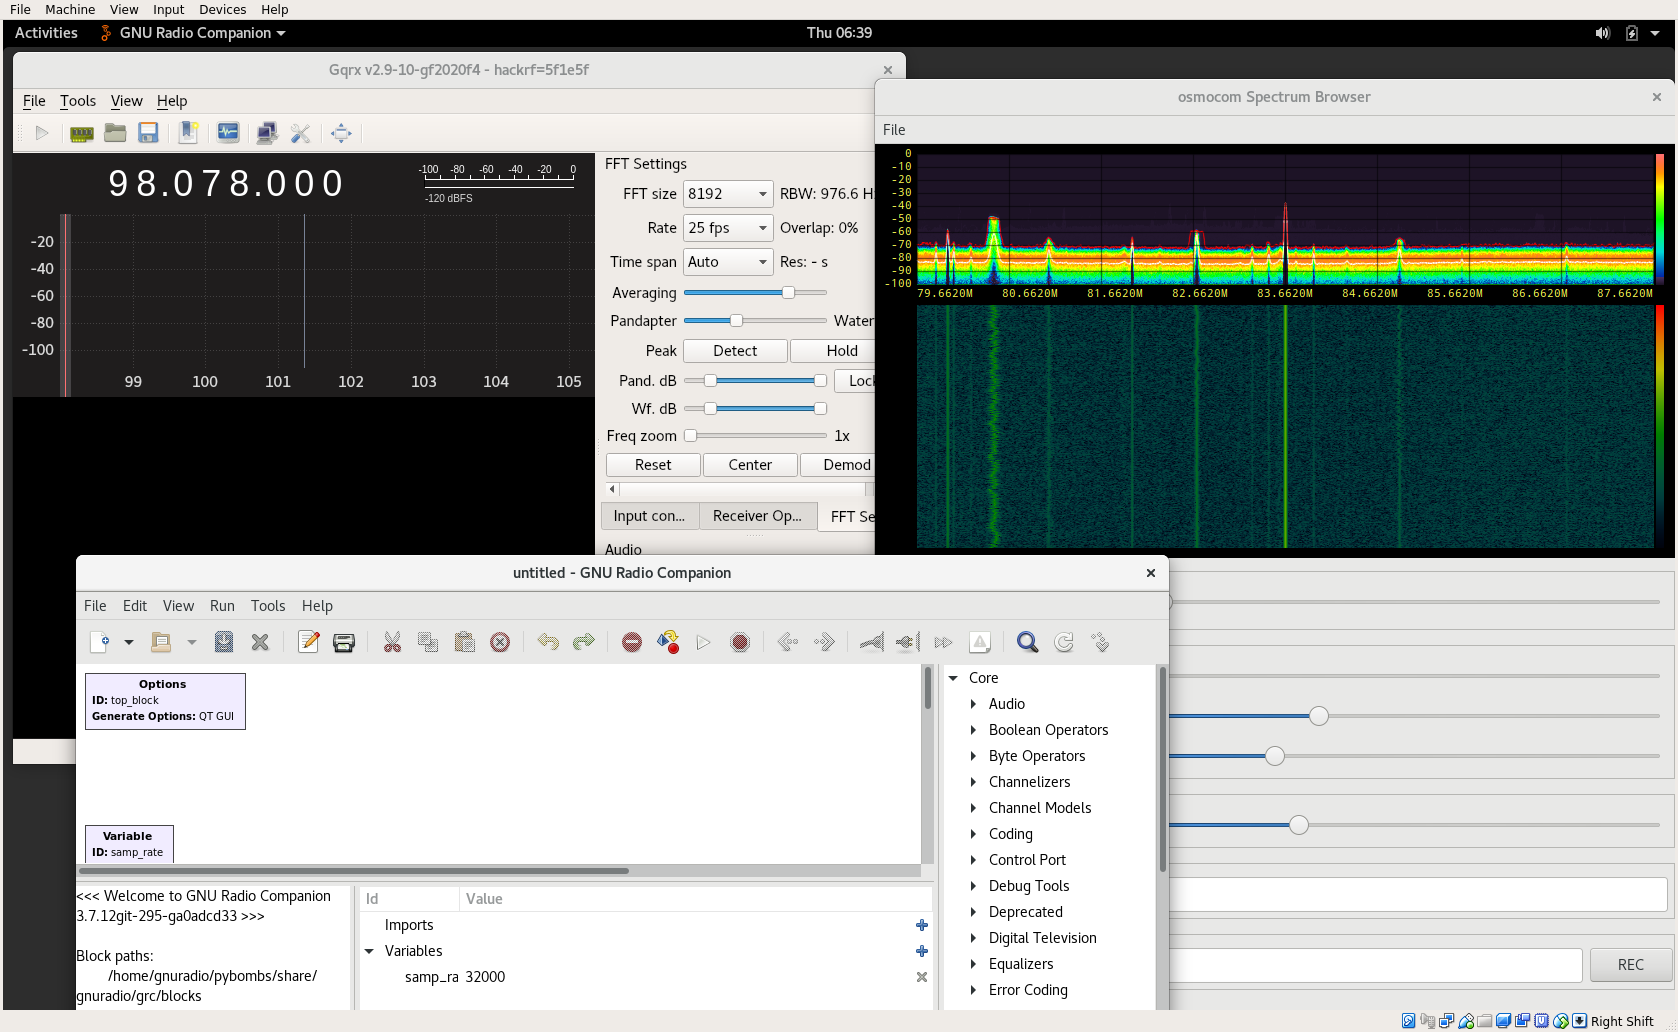
In the end, I came up with (I admit) a bit of an over-engineered solution. I use packer to programmatically create a VM that provides a nice environment. It comes with GNU Radio, Fosphor, GQRX, and some of my modules, supports many SDRs, and is completely ready for offline use (for example, the UHD images are already downloaded). The readme in its GitHub repository has a more comprehensive list of the features.
The actual benefit, however, is that packer can just be re-run to get an updated version of the VM.
Furthermore, it can be easily branded, extended, and customized for particular courses.
For example, for my session at WLPC, I added some PFDs and specialized software.
With packer, this can be made in an extension of the base image.
This way, I don’t have to rerun everything from scratch.
It also integrates well with git, where I can create a dedicated branch for the event (see the wlpc branch in the repository).
When the VM is ready, it is exported as an OVA appliance that can be imported in VirtualBox and VMWare, and easily be converted for Parallels.
While this is already pretty good, a VM is not always the ideal solution. Some people just want a native environment; some have problems with getting high samples rates into the VM (yes, VirtualBox USB drivers, I’m looking at you); some have performance issues when rendering applications like GQRX inside the VM; and it goes on and on. I ran into all kinds of problems when testing the VM on different systems.
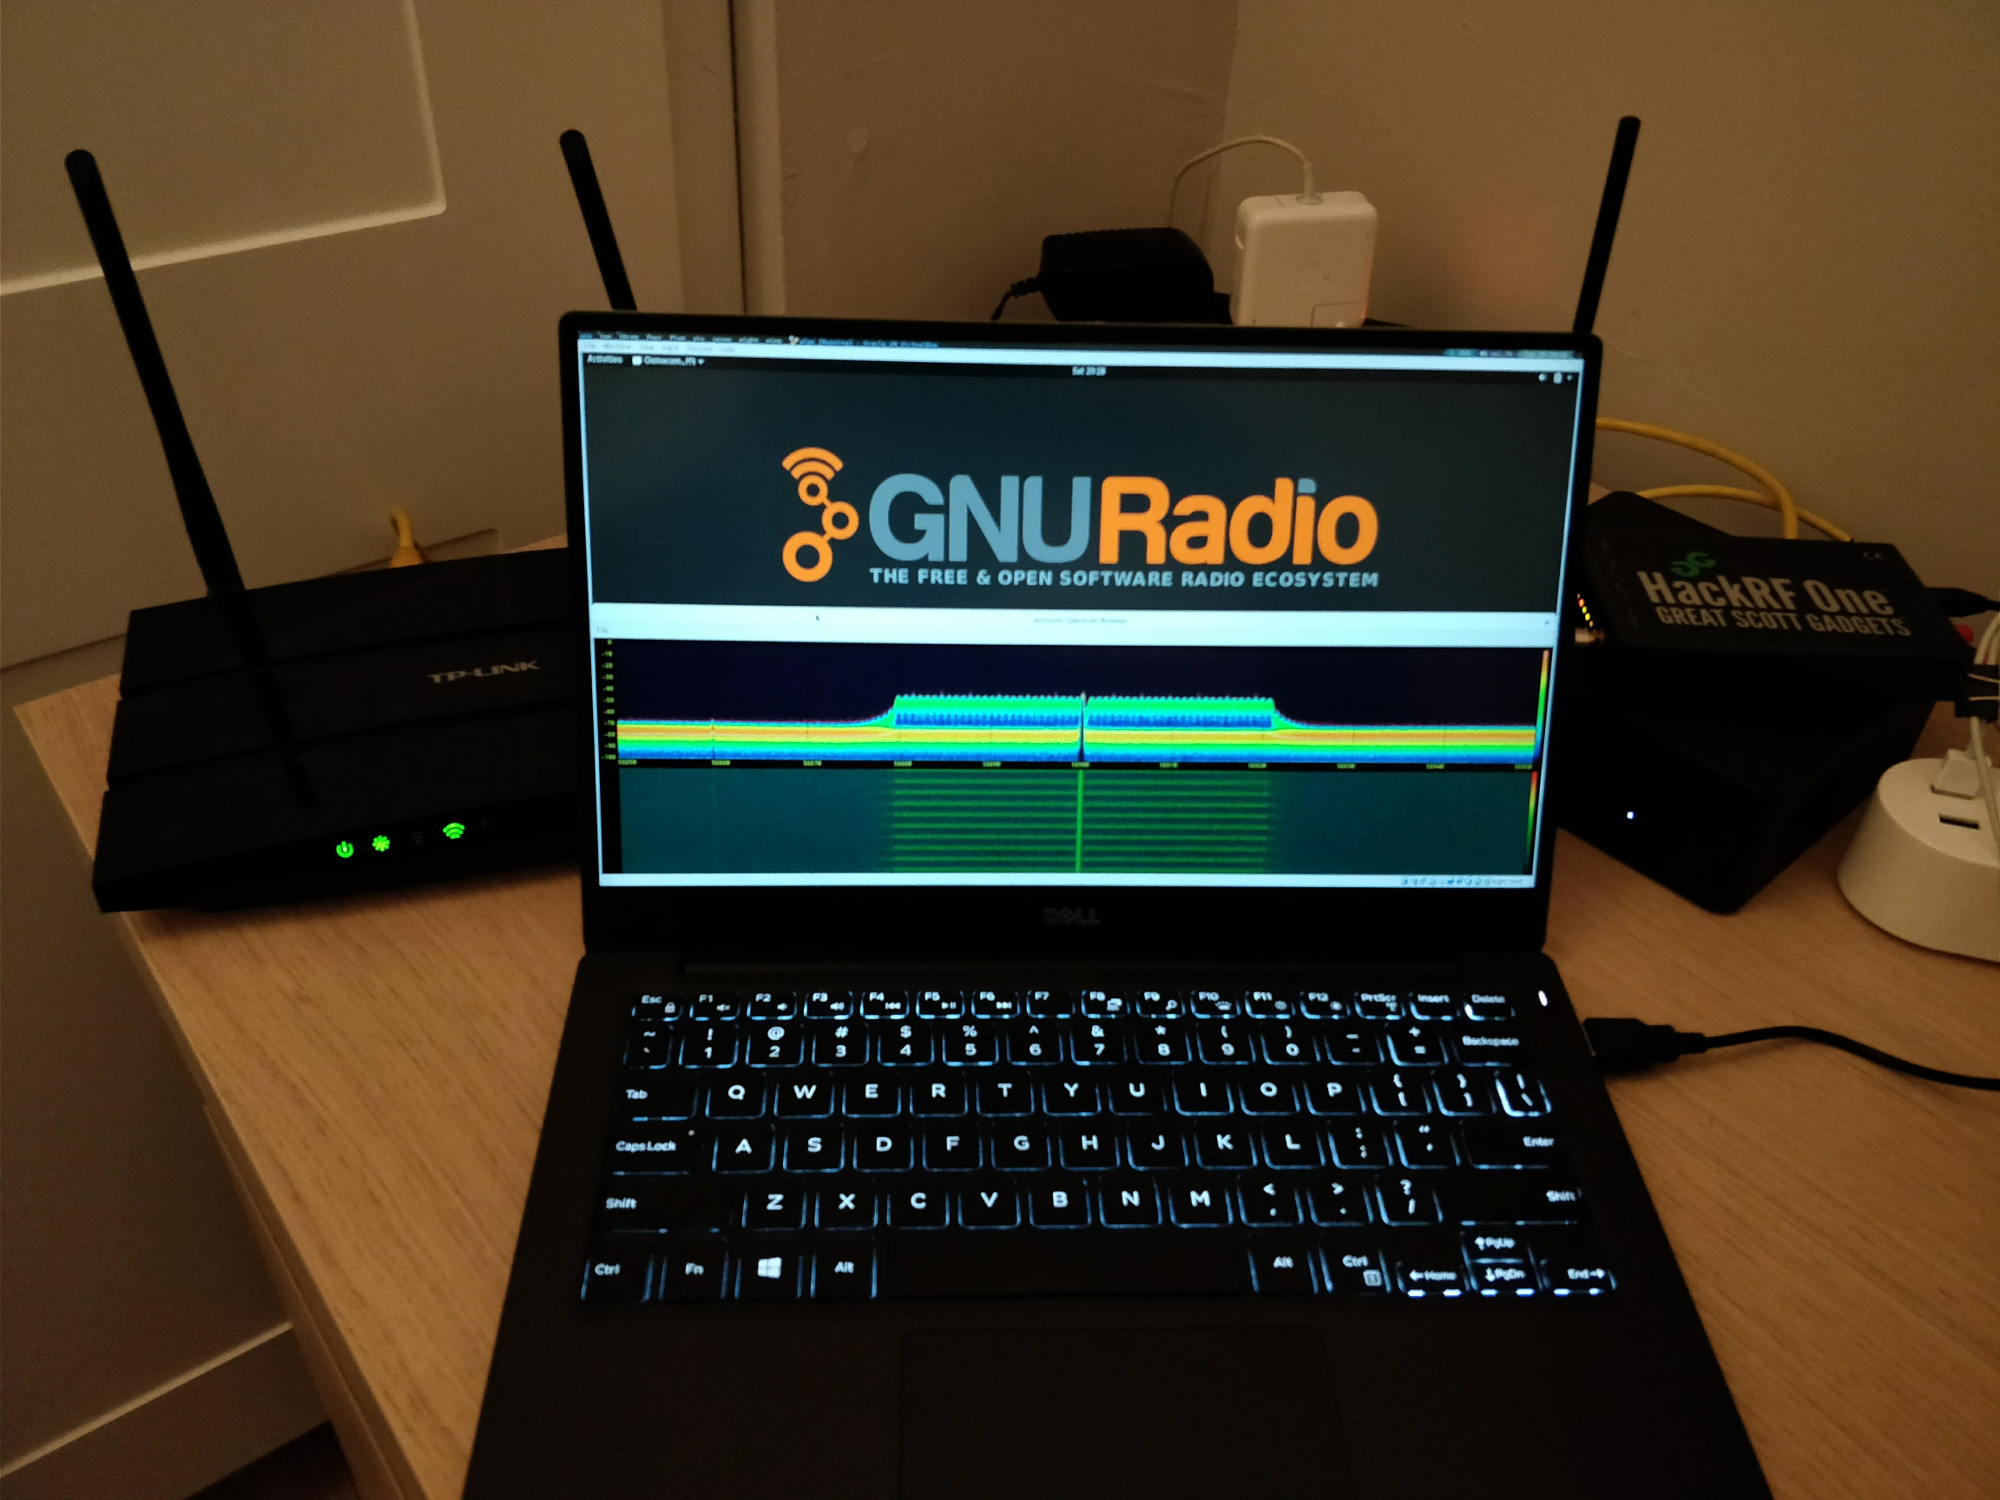
I, therefore, created a script that converts the VM in a live environment that can be booted from a USB drive. (See the gen_iso.sh script in the repository.)
While that was more or less straightforward, I had the impression to open Pandora’s box when I looking into the boot process.
(Legacy boot, UEFI boot, secure boot, etc. etc., …)
I ended up, creating a USB stick that uses an old DOS MBR (i.e., not GPT) that supports legacy boot and UEFI. Furthermore, I wanted to support persistence for the live environment. And I wanted to have an additional data partition that contains the VM. The three partitions can be created with something like:
Future me: beware of adapting /dev/sda to the device of the USB stick!
sudo sfdisk /dev/sda << EOF
,6GiB,ef,-
,4GiB,L
,,7
EOF

sudo mkfs.vfat -F32 -n EFI /dev/sda1
sudo mkfs.ext4 -O ^has_journal -L casper-rw /dev/sda2
sudo mkfs.exfat -n data /dev/sda3
For the data partition, I used exFAT since it supports large files (which is great, since I wanted to copy VMs) and is natively supported by macOS and Windows.
For Linux, there are fuse drivers (apt install exfat-fuse) that might already be installed on most systems.
In fact, I didn’t just want to boot my ISO, but also support the official GNU Radio live image (and potentially other ISOs). Fortunately, Grub2 supports mulit-boot ISOs where the boot menu allows to choose between different live images. This can be set up with:
sudo mount -t vfat /dev/sda1 /mnt -o uid=1000,gid=1000,umask=022
rm -rf /mnt/boot /mnt/EFI
mkdir -p /mnt/boot/grub
cp <path>/grub.cfg /mnt/boot/grub/

sudo grub-install --removable --target=x86_64-efi --no-uefi-secure-boot --boot-directory=/mnt/boot --efi-directory=/mnt /dev/sda
sudo grub-install --target=i386-pc --boot-directory=/mnt/boot --recheck /dev/sda
I disabled secure boot since it caused problems to on some laptops.
Also it doesn’t provide any benefit and can be disabled on any PC.
When copying the ISOs to /mnt/iso/, i.e., /iso/ on the UEFI partition, the grub.cfg looks something like
insmod part_msdos
insmod fat
insmod all_video

font=unicode

menuentry 'Instant GNU Radio' {
        set isofile="/iso/instant-gnuradio.iso"
        loopback loop $isofile
        linux (loop)/casper/vmlinuz boot=casper persistent iso-scan/filename=$isofile liveimg noprompt noeject --
        initrd (loop)/casper/initrd.img
}

menuentry 'GNU Radio Live SDR' {
        set isofile="/iso/ubuntu-16.04.2-desktop-amd64-gnuradio-3.7.11.iso"
        loopback loop $isofile
        linux (loop)/casper/vmlinuz.efi boot=casper iso-scan/filename=$isofile liveimg noeject nomodeset --
        initrd (loop)/casper/initrd.lz
}
Giving this stick to the students, they have the choice to
- boot with legacy BIOS
- boot with UEFI
- import the VM into (VirtualBox, VMWare, or whatever)
In the session, that worked quite well.